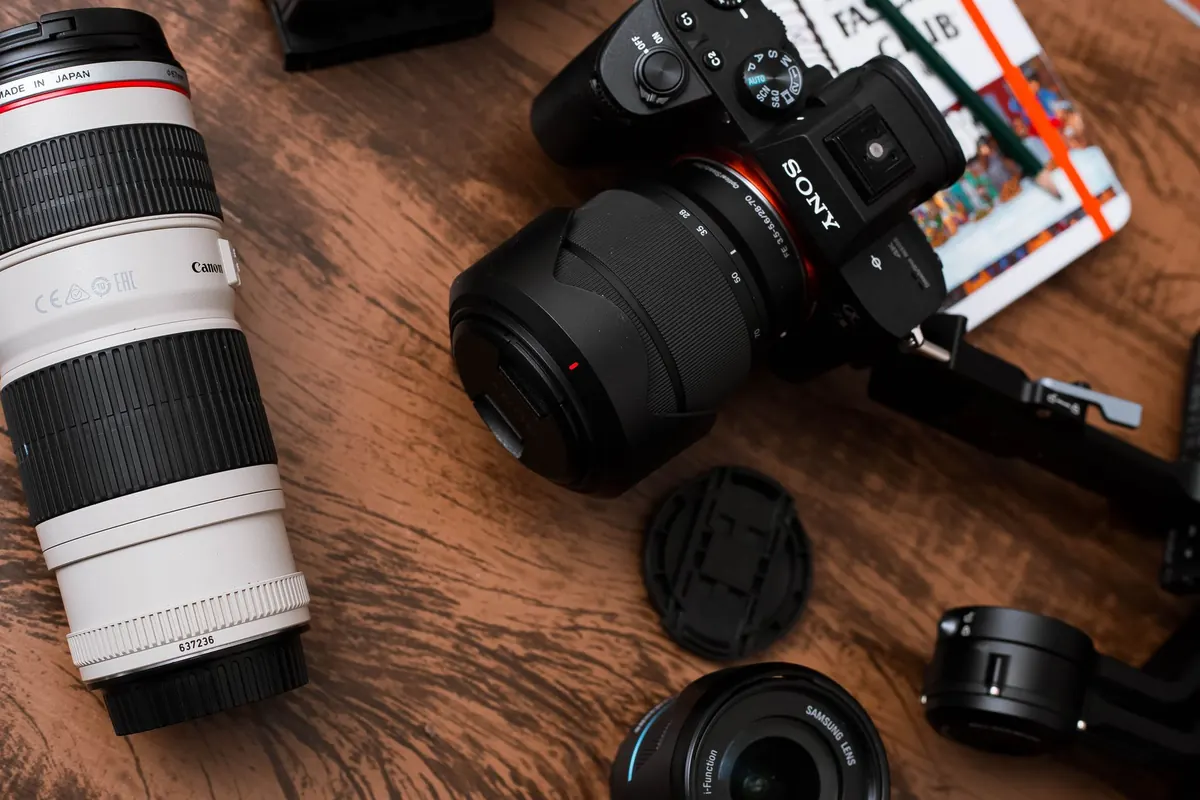
The first heron most of us photograph is a grey one, standing in the shallows of a local pond — and the picture is usually wrong. The head is a white blob. The body is a grey smear against grey water. The bird is unbothered, the light is fine, and the file still looks like a snapshot.
That gap between what you saw and what the camera recorded comes down to a handful of fixable mistakes, and almost none of them are about how much your lens cost. Herons are generous subjects: big, slow, often urban, and willing to stand still for long stretches. That gives you time to think — and time to repeat the same errors. Here is what usually goes wrong.
A grey heron is a study in contrast. Cheeks, throat and foreneck are white; back, wings and crown are mid-grey; bill and legs a dull yellow-olive. Meter for the whole bird and the camera averages those tones together, which is precisely what you do not want. The white clips and loses the feather detail you came for, while the grey half goes muddy.
So decide what matters and let the rest fall where it may: expose for the white. White feathers hold detail across a very narrow band of tones. Grey feathers sit in the middle of the histogram, where there is plenty of room to recover. Blown white is gone; underexposed grey is one slider away.
Expose for the white, recover the grey, and never the reverse.
Side light is where herons look their best: it models the neck, keeps one cheek in shade and puts a catchlight in the eye. Front light flattens the bird into a grey cut-out with a glowing white face. Backlight turns the white plumage into a bright rim but drops the body into silhouette — which can be a superb photograph, just not the one you were probably planning. Know which of the three you are shooting.
Most ruined heron shots are ruined before the shutter is touched. Herons are ambush predators with excellent vision and a well-defined flight distance, and the way a human walks straight at a bird is exactly how a predator walks at a bird. Even when the heron stays, it stops feeding, tightens its neck and stares — and that tension shows in every frame.
Walk at an angle rather than head-on, and stop often. Move while the bird is busy: head down, hunting, preening. Freeze when its head comes up. Crouch or sit — a low human is far less alarming than a tall one, and a lower camera also fixes your background. Use what is already there: a hedge, a parked car, a bench, a hide. Cars make excellent blinds, which is why so many good heron pictures are taken through an open window.
If you see any of these, stop. Back off two steps, wait, and let the bird resume. A hunting heron that has forgotten you exist is worth more than a close one that has not.
Herons are tall, thin, vertical subjects, which makes framing awkward. The classic error is shooting down at a bird standing in flat water, so you get a grey body against grey ripples, a horizon line through the neck and no separation at all. Get low — knee-high, ideally — and the water becomes a clean backdrop instead of a competing texture.
Nothing rescues a heron photograph with a soft eye. Everything else — a busy background, a slightly hot highlight, a missing leg — is survivable, but the eye is what the viewer looks at first.
Heron files tempt you into overdoing it. Grey feathers are smooth, low-contrast surfaces, and pushing clarity or texture into them produces a crunchy, artificial look that reads as plastic at full size. White edges are where halos appear, so sharpen gently and check at 100%. Lifting deep shadows brings noise into the neck, and crushing blacks kills the soft grey gradation that makes the bird look like a bird.
Do clean up the small things, though: a stray highlight on the bill, a distraction in the water, a dust spot on the sky. Heron photography rewards tidiness, not drama.
If you want faster progress than any purchase will give you, try these.
None of these mistakes are about equipment, and that is the good news. Herons give you the one thing wildlife photography rarely offers: time. Use it to check the exposure, lower your knees to the mud, and wait for the bird to forget you. The heron is already doing its part perfectly. Everything else on the list is yours to fix.
Photo: Wallace Chuck / Pexels
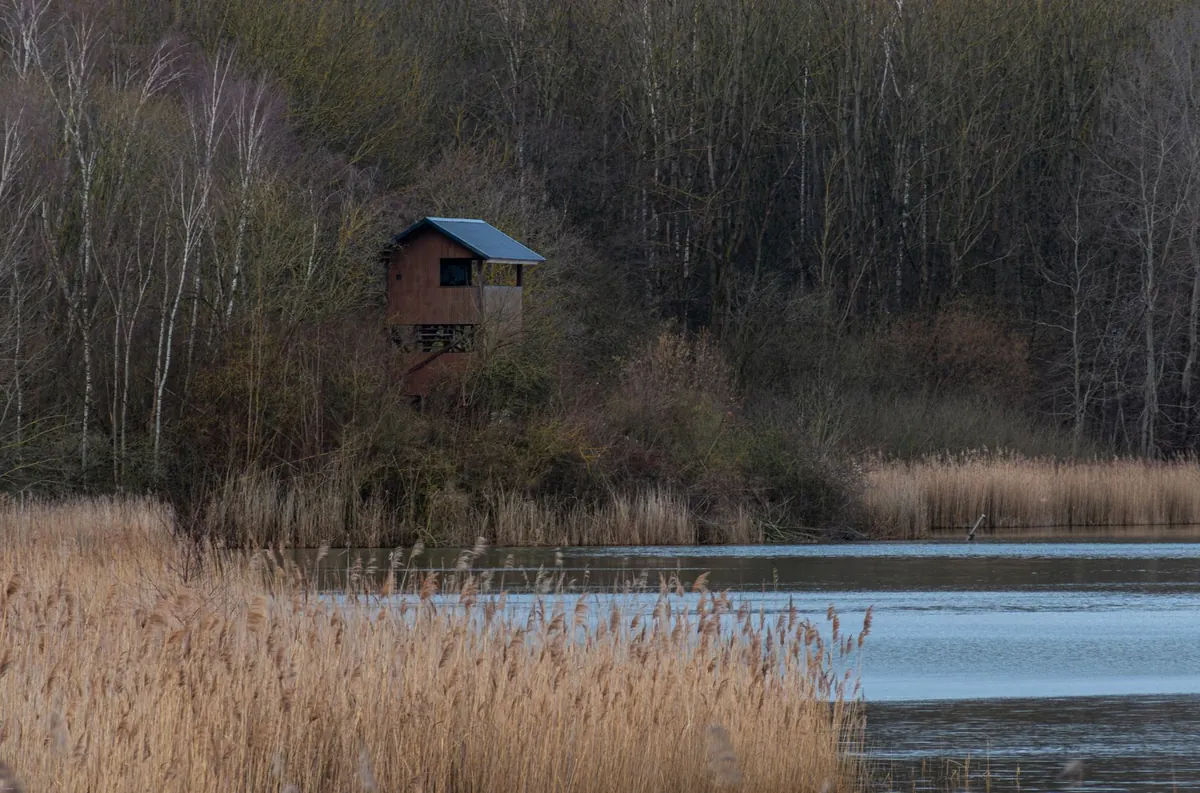
A practical, ethics-first guide to ten UK wetlands where grey herons, little egrets and bitterns can be watched...
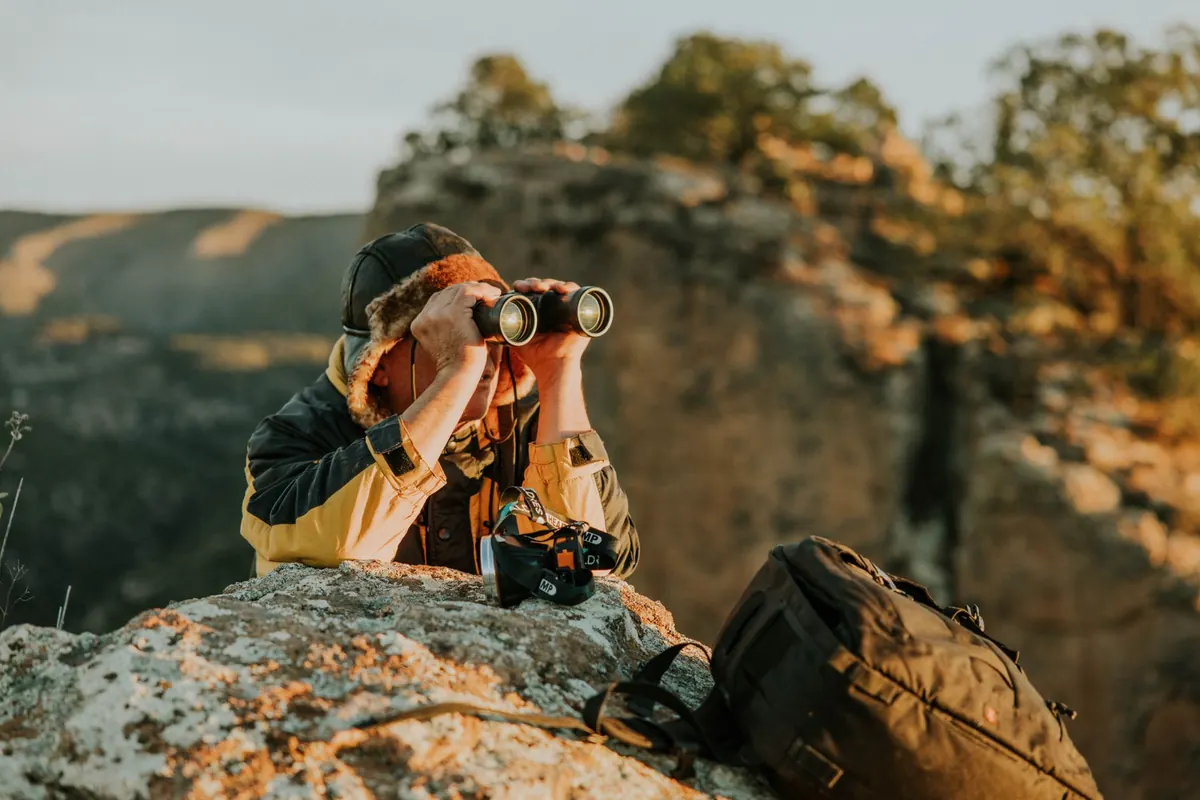
A practical, standardised checklist for recording heron behaviour — from foraging strikes to dusk roost counts — so...
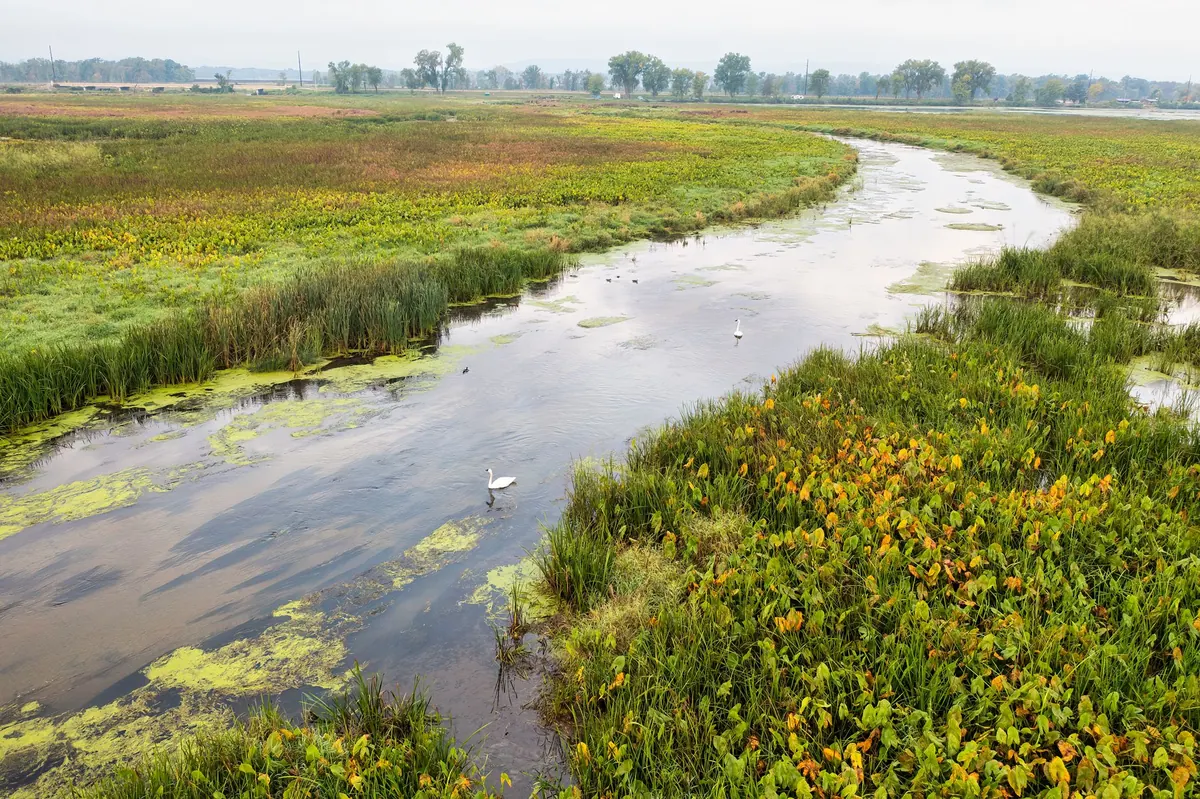
Restored wetlands across the UK reveal what long-term heron counts can show — where conservation is working, where...

Exploring herons, wetlands, and wild science..
